
April 10, 2024 · Michael Lynn
MongoNext - Next.js & MongoDB Starter Template
A professional, production-ready starter template for building modern web applications with Next.js and MongoDB, featuring Material UI, authentication, and a comprehensive component library
MongoNext - Next.js & MongoDB Starter Template
Building modern web applications often involves setting up the same foundation repeatedly. MongoNext solves this by providing a professional, production-ready starter template that combines Next.js, MongoDB, and Material UI into a cohesive development experience.
Project Overview
MongoNext is designed to accelerate web application development by providing a robust foundation with best practices built-in. It's particularly valuable for developers who want to:
- Start new projects quickly with a proven architecture
- Have authentication and user management ready to go
- Use Material UI with a professional theme system
- Follow modern Next.js App Router patterns
- Implement secure MongoDB integration
MongoNext Architecture
flowchart TD
  Client([Client]) --> NextJS[Next.js App Router]
  NextJS --> Auth[NextAuth.js]
  NextJS --> API[API Routes]
  NextJS --> UI[Material UI]
  API --> MongoDB[(MongoDB)]
  Auth --> MongoDB

  subgraph Frontend
  NextJS
  UI
  end

  subgraph Backend
  API
  Auth
  end

  classDef primary fill:#1976d2,stroke:#1565c0,color:white;
  classDef secondary fill:#00ed64,stroke:#00c853,color:black;
  classDef tertiary fill:#dc004e,stroke:#c51162,color:white;

  class NextJS,UI primary;
  class API,Auth secondary;
  class MongoDB tertiary;
✨ Key Features
- 🚀 App Router Ready: Built on Next.js with full App Router support
- 🎨 Material UI: Pre-configured theming and components
- 🌗 Dark/Light Mode: Fully integrated theme switcher
- 🔐 Authentication: Ready-to-use authentication flows with NextAuth.js
- 📱 Responsive: Mobile-first design principles throughout
- 📊 Dashboard Layout: Professional admin layout with sidebar navigation
- 🧩 Component Library: Extensive collection of pre-built UI components
- 🔧 Developer Experience: Configured with ESLint, Prettier, and Husky
Technical Implementation
The project is built with modern web technologies and follows best practices for full-stack development.
Tech Stack
Next.js 14
MongoDB
Material UI
NextAuth.js
React Hook Form
ESLint & Prettier
Project Structure
The codebase follows a well-organized structure:
graph TD
  A[app] --> B[api]
  A --> C[auth]
  A --> D[dashboard]
  E[components] --> F[auth]
  E --> G[dashboard]
  E --> H[forms]
  E --> I[layout]
  E --> J[ui]
  K[lib] --> L[auth]
  K --> M[api]
  K --> N[db]

  style A fill:#bbdefb
  style E fill:#c8e6c9
  style K fill:#fff9c4
Authentication System
The authentication system is built on NextAuth.js with multiple features:
flowchart LR
  subgraph "Authentication Flow"
  A[Login] --> B{Valid?}
  B -->|Yes| C[Session]
  B -->|No| D[Error]
  C --> E[Protected Routes]
  end

  subgraph "User Management"
  F[Register] --> G[Email Verify]
  G --> H[Profile]
  H --> I[Password Reset]
  end

  style A fill:#bbdefb
  style B fill:#fff9c4
  style C fill:#c8e6c9
  style D fill:#ffccbc
  style F fill:#bbdefb
  style G fill:#c8e6c9
  style H fill:#c8e6c9
  style I fill:#c8e6c9
User Interface
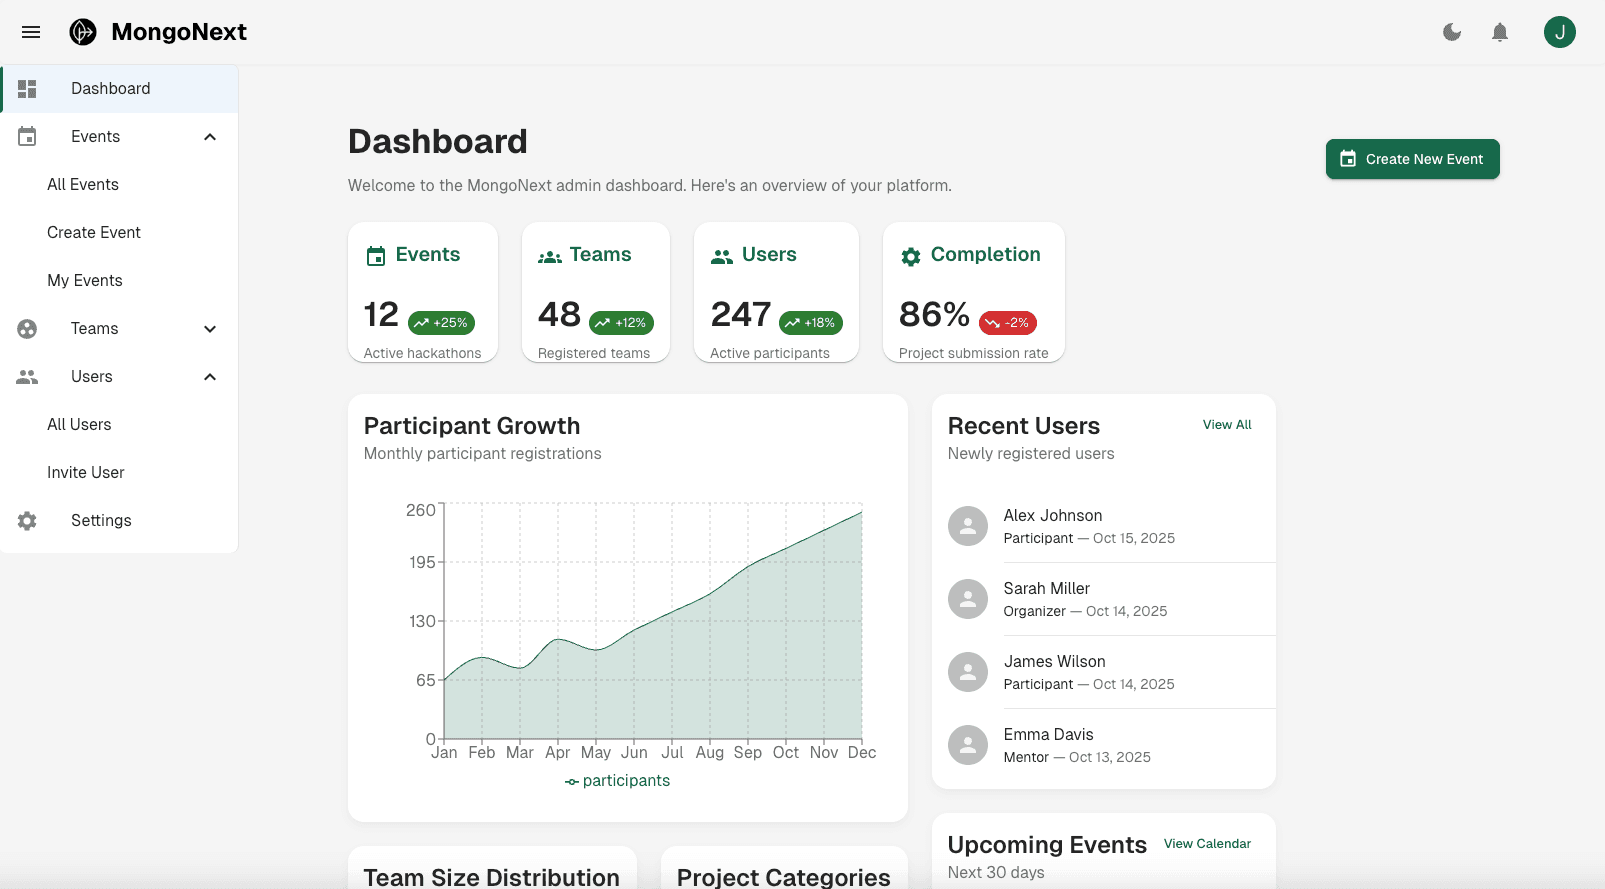
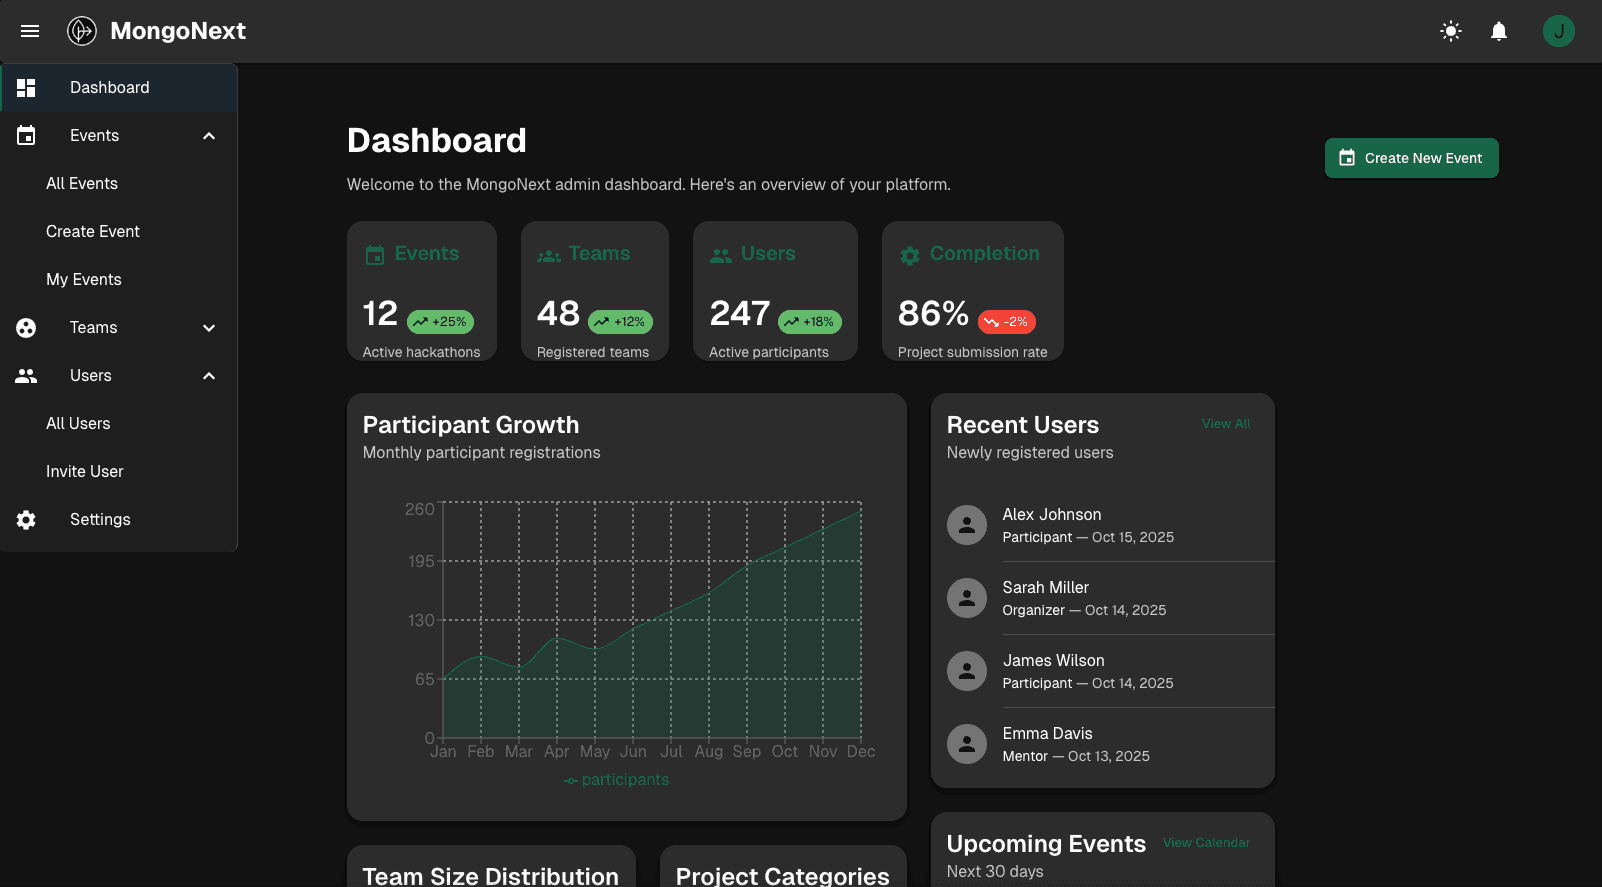
The template includes a professional dashboard layout with both light and dark themes:
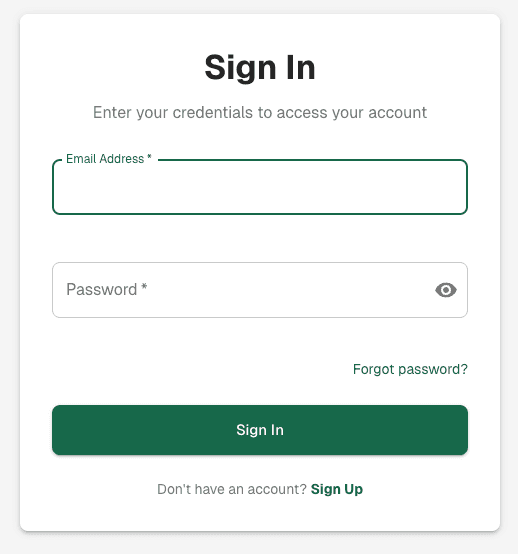
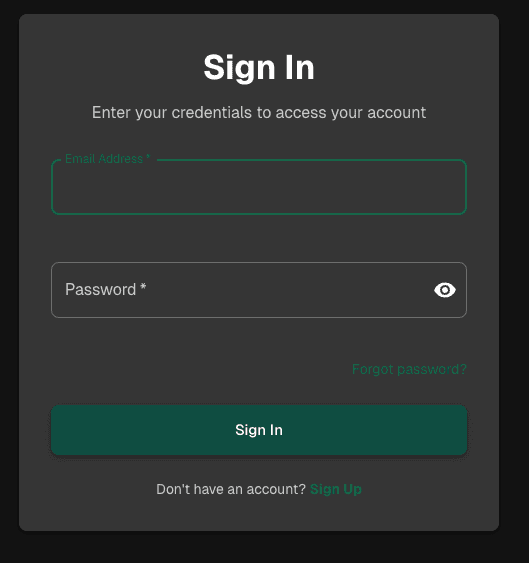
Authentication pages are also theme-aware:
Development Process
The development followed a structured approach:
gantt
  title Development Timeline
  dateFormat  YYYY-MM-DD
  section Core
  Project Setup     :a1, 2024-01-01, 7d
  Authentication    :a2, after a1, 14d
  section Features
  Dashboard Layout  :a3, after a2, 7d
  Component Library :a4, after a3, 14d
  section Polish
  Documentation     :a5, after a4, 7d
  Testing          :a6, after a4, 7d
  section Release
  GitHub Template   :a7, after a5, 3d
Challenges and Solutions
Challenge 1: App Router Migration
Migrating from the Pages Router to the App Router required careful consideration of authentication and layout patterns.
Solution:
- Implemented middleware for authentication
- Created a flexible layout system
- Used React Server Components where appropriate
- Maintained client-side interactivity where needed
Challenge 2: Theme System
Creating a robust theme system that works across the entire application.
Solution:
- Implemented Material UI's theme provider
- Created theme context for dynamic switching
- Added CSS variables for custom properties
- Ensured consistent styling across components
Challenge 3: Authentication Flow
Building a secure and user-friendly authentication system.
Solution:
- Integrated NextAuth.js with MongoDB
- Added email verification
- Implemented password reset flow
- Created protected route middleware
- Added role-based access control
Future Enhancements
Several exciting features are planned:
- Admin Dashboard: Enhanced admin interface
- API Documentation: OpenAPI/Swagger integration
- Testing Suite: Comprehensive test coverage
- Deployment Templates: Ready-to-use deployment configs
- More Auth Providers: Additional social login options
- Performance Monitoring: Built-in analytics
Conclusion
MongoNext provides a solid foundation for building modern web applications. By combining Next.js, MongoDB, and Material UI with best practices and ready-to-use features, it significantly reduces development time and ensures a professional result.
Try it yourself:
bash code-highlightnpx create-next-app my-app -e https://github.com/mrlynn/mongonext
Visit mongonext.com to see the live demo or check out the GitHub repository for more details.
🛠️ Development
Want to contribute? Here's how to get started:
- Fork the repository
- Create your feature branch (
git checkout -b feature/amazing-feature) - Commit your changes (
git commit -m 'Add some amazing feature') - Push to the branch (
git push origin feature/amazing-feature) - Open a Pull Request
📄 License
This project is licensed under the MIT License - see the LICENSE file for details.